Last updated March 15, 2021
Learn how to configure quantity tracking across a workflow and its tasks
Admins have the ability to add Quantity Tracking on workflow templates and on individual tasks. Toggling on quantity tracking for a workflow template will enable its tasks to be configured with quantity tracking so that users can log quantity across tasks during production.
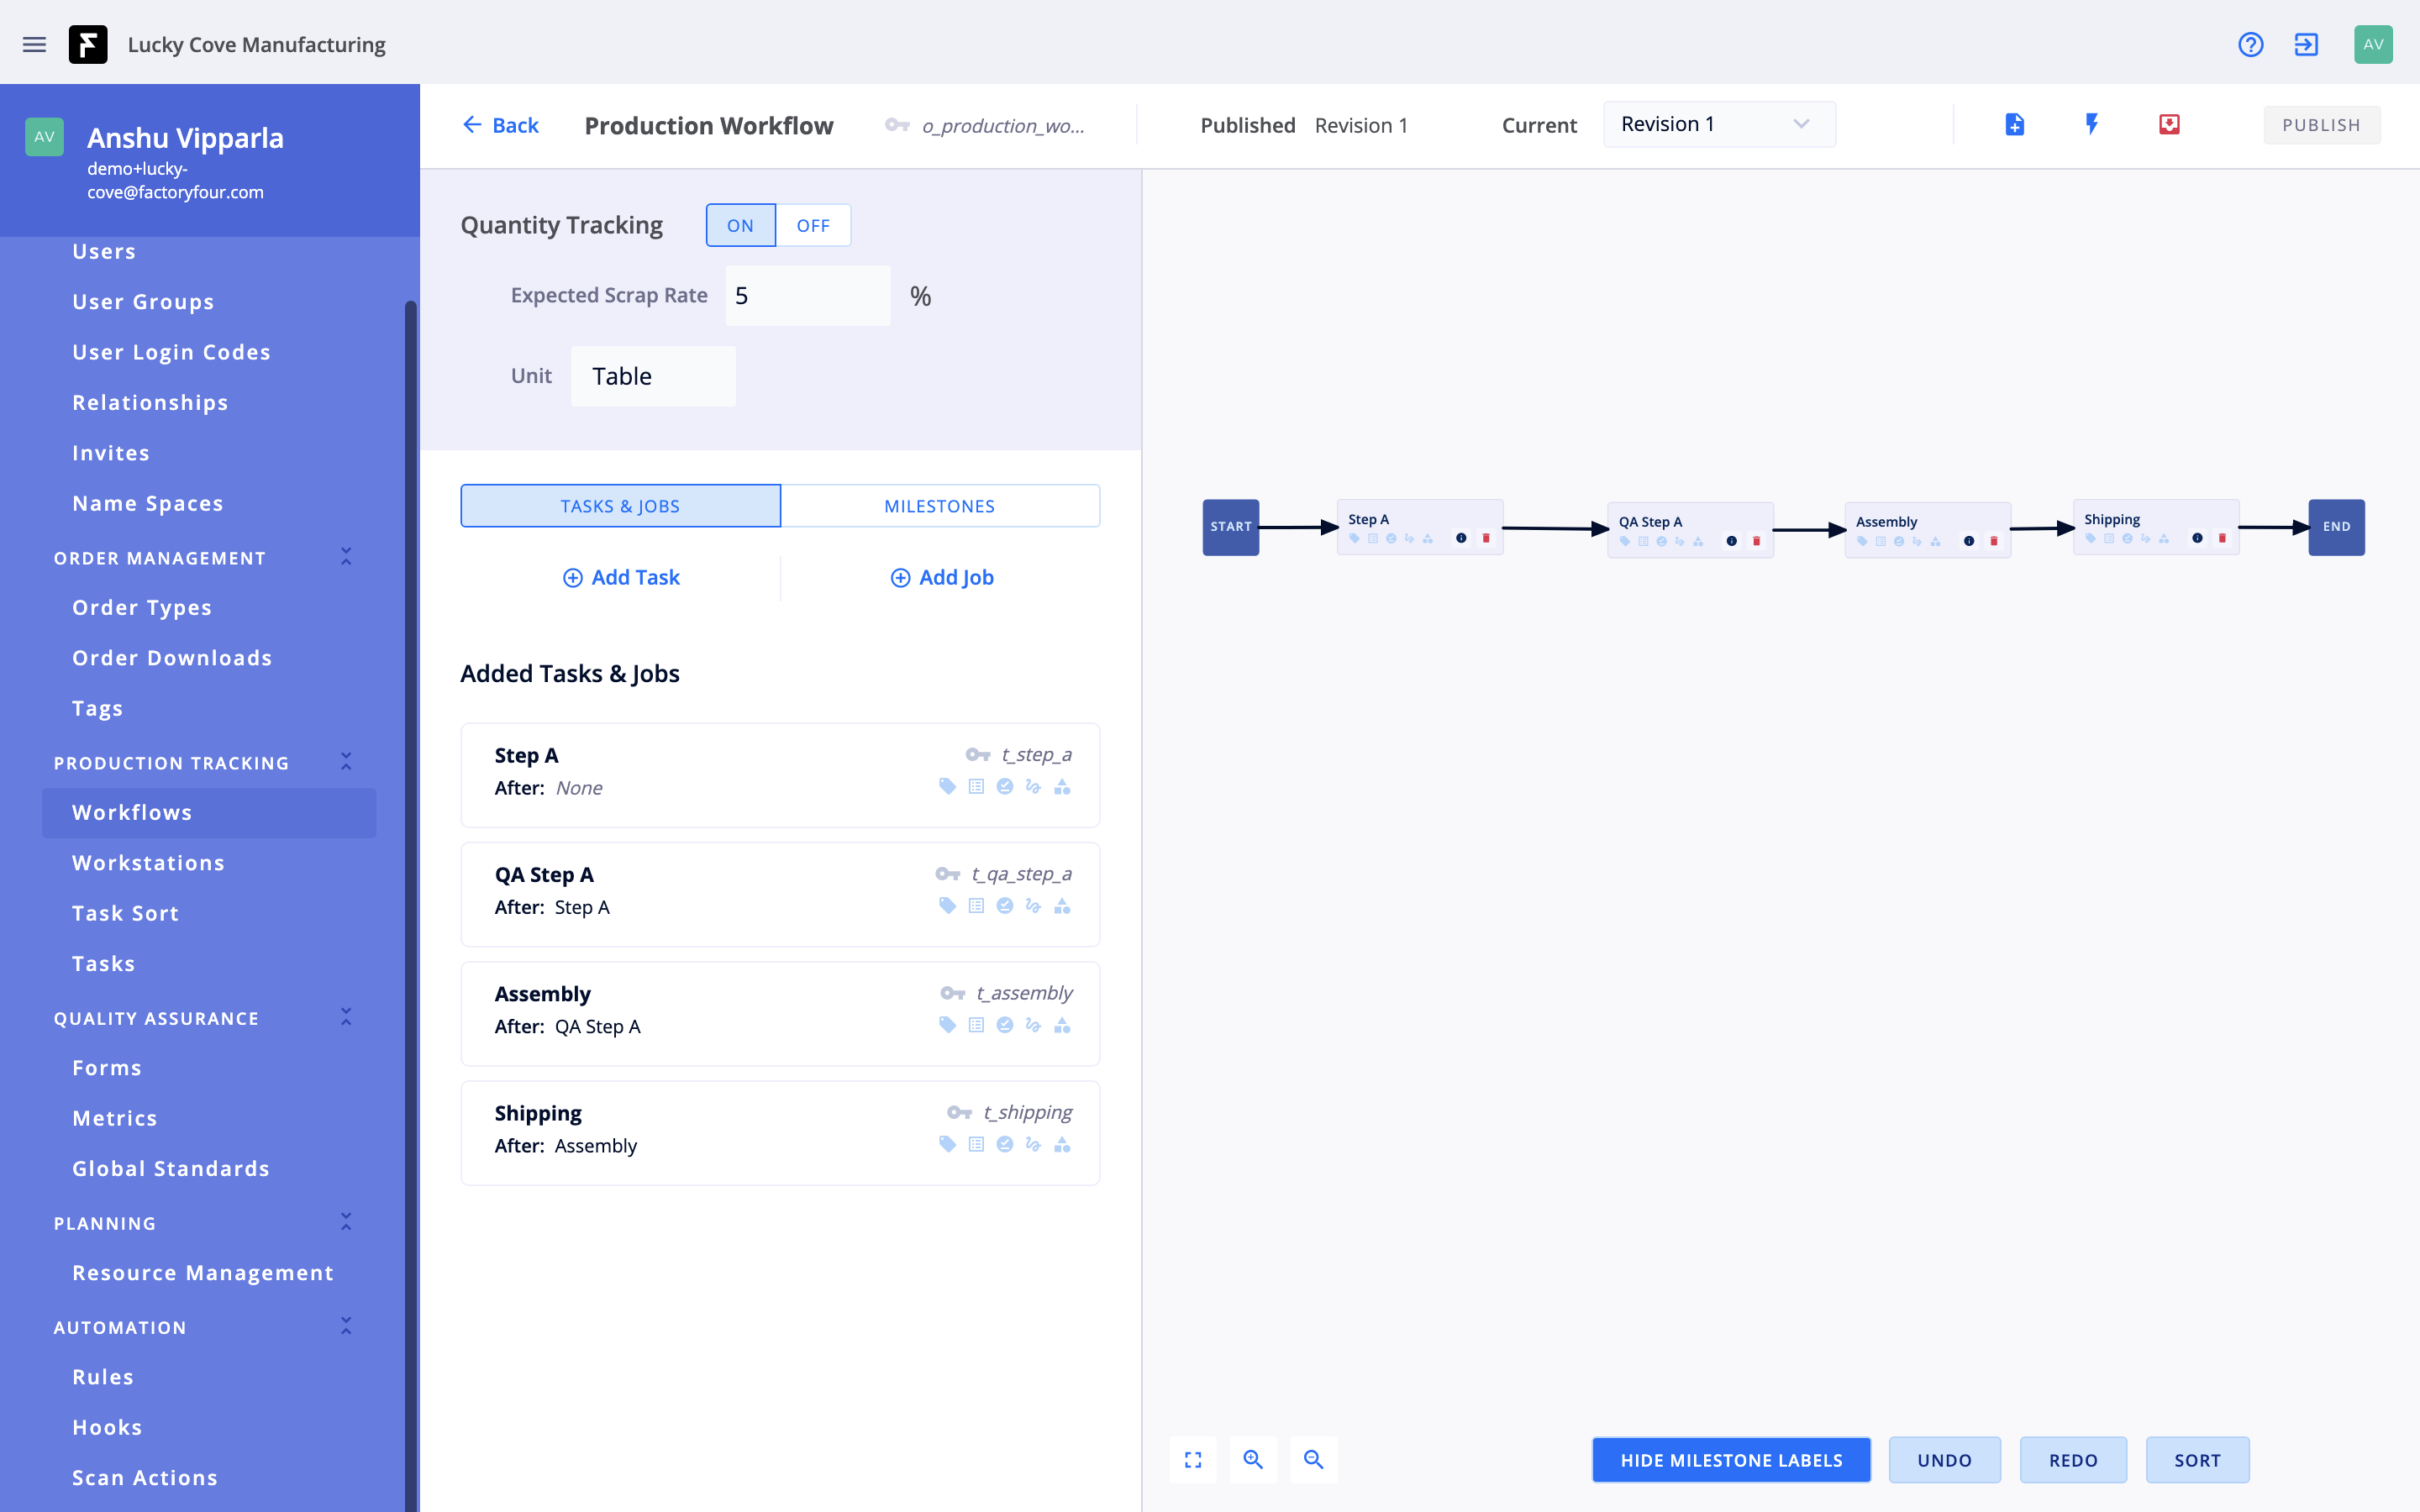
The value entered for the expected scrap rate is used to calculate the target or initial quantity values at workflow creation. At default, the expected scrap rate is “0”.
For example if the workflow’s end product is a table, then the unit for the workflow will be “Table”. At default, the “Unit” field for a workflow will be “Each”.

For workflows that do not require Quantity tracking, then Quantity tracking should be kept “Off”. Workflows that have quantity turned off will disable any quantity configurations on its tasks.

Admins have the ability to add Quantity tracking to individual tasks. Turning on quantity tracking on a task will enable the user to track and account for completed / discarded quantity amounts as part of the task.

If you do not need a form to be filled out in order to account for a quantity value, then leave the fields selected as “None”. If a selected “Discard Form” has both completed or discarded key metrics, then admins can select the “Same as Discard” checkbox in order to select the same form for the “Completed Form” field.
For example if you’re building a table, the unit for a task may be “side” and not “sides”. At default, the “Unit” field for a task will be “Quantity”.
This field title will change based on whether a unit is added for a task or workflow. At default, the “Quantity per Each” value will be 1. For example if a task is to build legs for a table and each table has 4 legs, then the “Quantity per Each” value should be 4.
For any task that does not require Quantity Tracking, make sure the Quantity Tracking is set to “Off”.
